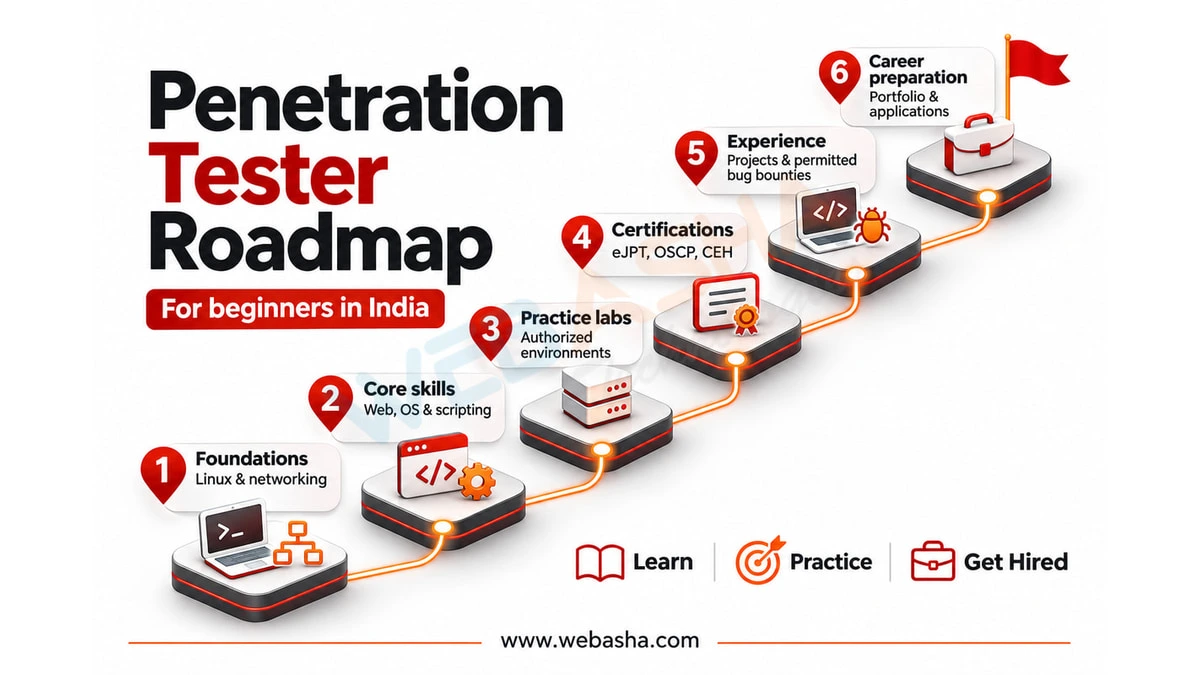
Ethical Hacking Roadmap: From Networking Basics to Your First Lab Report
Start an ethical hacking roadmap with networking and operating-system fundamentals, add basic scripting, then practise one authorised assessment in an isolated lab. Keep evidence from the beginning and finish with a report that explains the result, its limits and an appropriate remediation check. Move forward when you can demonstrate the skill.
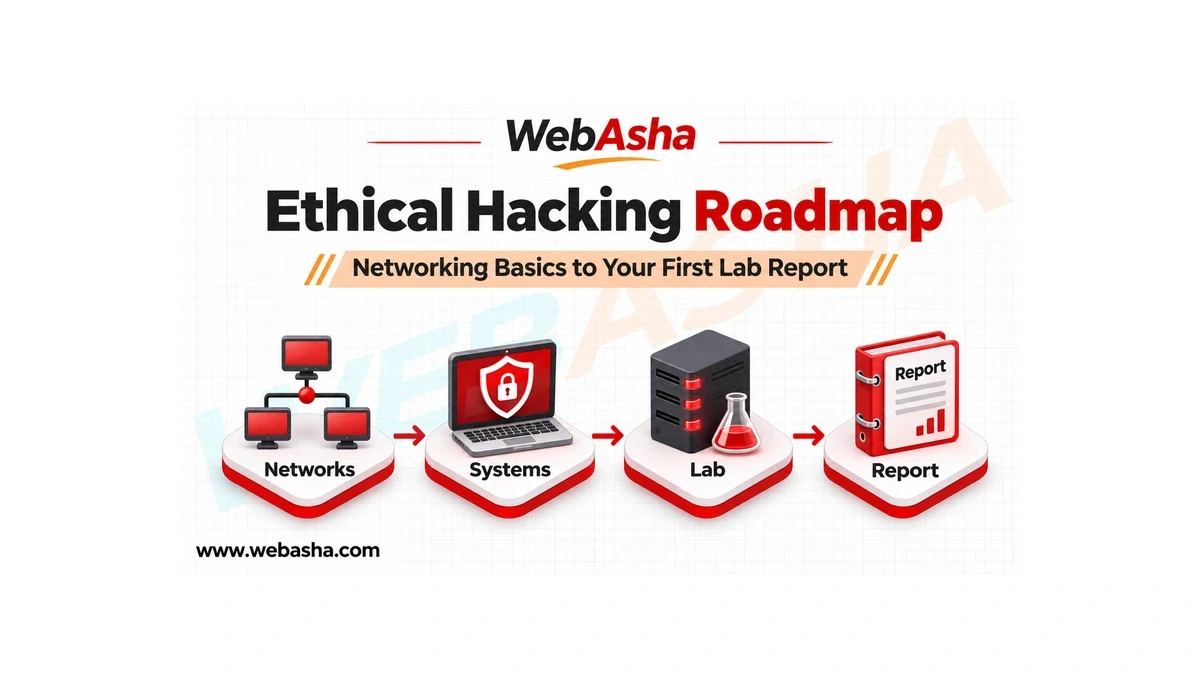
Start an ethical hacking roadmap with networking and operating-system fundamentals, add basic scripting, then practise one authorised assessment in an isolated lab. Keep evidence from the beginning and finish with a report that explains the result, its limits and an appropriate remediation check. Move forward when you can demonstrate the skill.
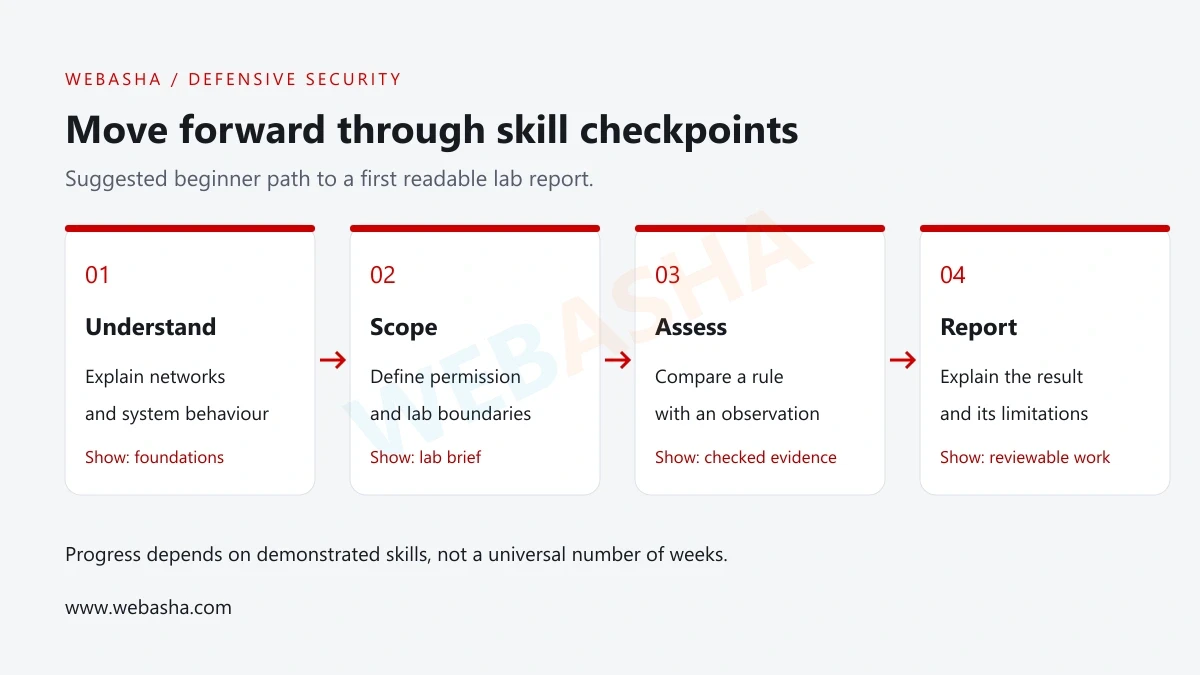
This is a beginner learning sequence, not an official certification syllabus or a promise of employment within a fixed period. Each stage has a small output and a checkpoint so you can identify what still needs practice.
Your first destination
- Explain how the lab system normally behaves.
- Define permission, scope and the expected rule.
- Record a small check and its actual result.
- Write a report another learner can follow.
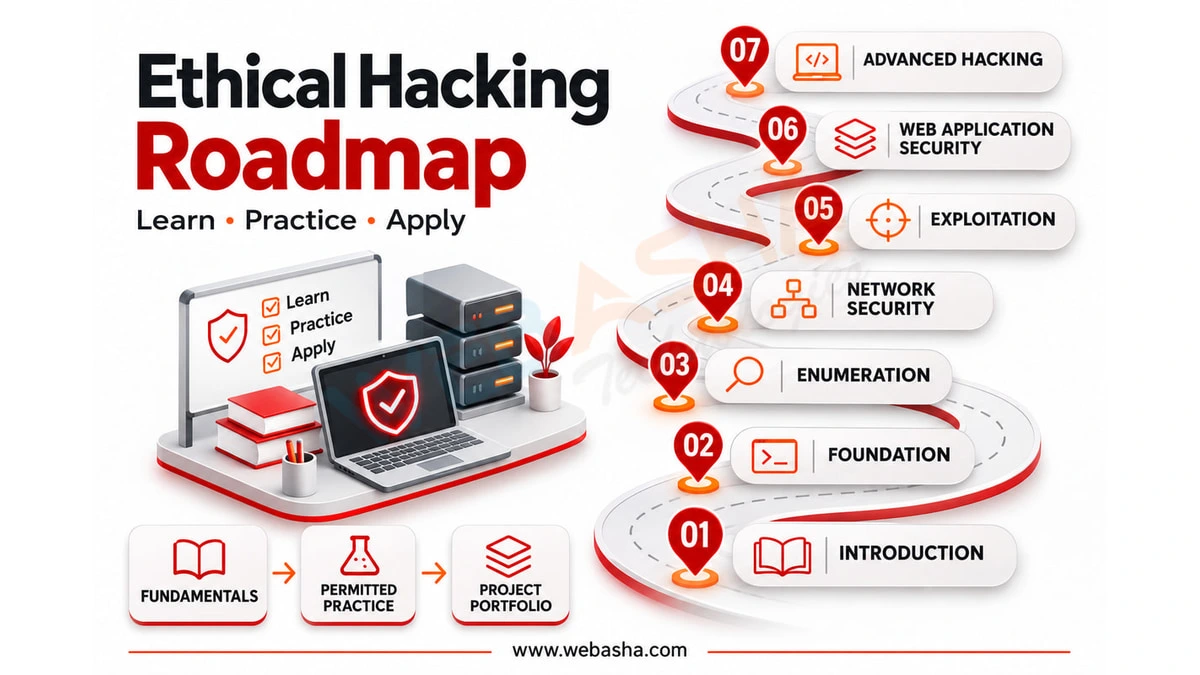
The roadmap at a glance
Use tasks to organise study. NIST’s NICE Framework connects cybersecurity work with the knowledge and skills needed to perform it. For a learner, this supports a practical question: what can I explain or demonstrate at the end of this stage? [1]
| Stage | Work to practise | Move on when |
|---|---|---|
| 1. Networking | Explain addressing, DNS, services and a request flow. | You can distinguish the main layers of a simple connection problem. |
| 2. Systems | Work with files, identities, permissions and logs. | You can explain an allowed and a denied local action. |
| 3. Scripting | Read synthetic data and produce a checked result. | You can handle ordinary input and explain an error case. |
| 4. Lab scope | Name the permitted environment, objective and exclusions. | You can state what is outside the exercise. |
| 5. Assessment | Compare expected and observed behaviour. | You have a reproducible record and understand its limits. |
| 6. Reporting | Explain evidence, impact and proposed correction. | A reviewer can follow the work and identify its verification status. |
If you already have relevant experience, demonstrate the checkpoint before skipping a stage. For a broader foundation overview, use the WebAsha cybersecurity beginner guide.
Stage 1: understand the network before using assessment tools
Learn how a name becomes an address, how a service is reached and how an application request returns a result. Start with DNS, IP addresses, ports, TCP and HTTP/HTTPS at an introductory level. Draw one request flow and explain which details you have simplified.
Use an approved packet recording to connect concepts with fields. Wireshark presents captured packet data and is used for protocol learning and troubleshooting. Its output still needs interpretation in the context of the recording. [2]
Checkpoint: given a sample connection failure, describe whether you would first investigate name resolution, reachability, transport, TLS or application behaviour. State the evidence you need instead of guessing that every failure is a security event.
Stage 2: build operating-system confidence
Practise navigating a folder, reading a small file and explaining the identity used for an action. Learn how permissions affect access and where relevant logs can be found in your learning environment. Keep the work in a disposable lab folder.
Include both a successful and a denied action. Record the expected rule, the account involved and the observed result. If the outcome surprises you, inspect the effective permissions and context before changing settings.
Checkpoint: explain why the result occurred and how you would verify a permitted correction. You should be comfortable describing the system’s ordinary behaviour before assessing whether it violates a requirement.
Stage 3: automate a small, understandable check
Choose a task you can already perform manually, such as counting synthetic events or comparing two small files. Write down expected output for a tiny input, then build the script. Keep the first version simple enough to inspect line by line.
Test an empty input, a normal case and an invalid case. Explain what the script cannot establish. A count of failed events, for example, lacks the context needed to confirm an attack unless the surrounding analysis supplies it.
Checkpoint: another person can run your sample and reproduce the result. You can explain each input field, the output and the reason for an error message. Credit tutorials or AI assistance where applicable and verify generated suggestions yourself.
Stage 4: create a lab brief and permission boundary
Write a short brief naming the owner, authorised resources, learning objective and exclusions. Include the start conditions, approved checks, stop conditions and contact for unexpected behaviour. Use fictional identities and synthetic records where possible.
Purpose-built training applications can support this learning. OWASP Juice Shop is intentionally insecure and intended for security training. Follow the official setup documentation and keep such an environment isolated from public access. [3]
Do not use a public site, nearby wireless network or employer system as an unapproved substitute. If your course supplies a lab, confirm which actions and write-ups are permitted. Testing access and permission to publish evidence are separate questions.
Checkpoint: you can describe one action that is allowed and one that would be outside the agreed exercise. You know how to reset the environment and whom to contact if the lab behaves unexpectedly.
Stage 5: perform one small assessment
Start with an explicit rule, such as which fictional role may read a lab record. OWASP recommends least privilege, default denial and checking permissions on every request. Use the rule to define expected allowed and denied cases in your approved exercise. [5]
Record what you did and what happened. Keep timestamps, environment details and safe evidence references. If the result is ambiguous, explain what other check would help resolve it. Avoid expanding the test simply because a new system or data source becomes visible.
Checkpoint: you can reproduce the observation, connect it to the expected rule and state the limits of your conclusion. A tool message alone is not the entire finding.
Stage 6: write your first lab report
OWASP’s versioned Web Security Testing Guide includes reporting guidance covering the audience, assessment context and findings. Use the versioned resource as background; adapt the scale to a beginner exercise rather than imitating a large consultancy report. [4]
| Section | What to include |
|---|---|
| Purpose and scope | The learning question, permitted lab and exclusions. |
| Environment and method | Relevant versions, synthetic identities and checks actually performed. |
| Observation and evidence | The result and the minimum safe record supporting it. |
| Impact within the lab | The consequence demonstrated, with assumptions stated. |
| Recommendation | The intended correction or control to review. |
| Retest status | Checks actually repeated after a change, or proposed work still outstanding. |
| Limitations | Untested cases, missing context and uncertainty. |
Keep the distinction between a finding and an imagined consequence. If your lab only shows one role’s unexpected access, do not claim that an entire production organisation was compromised. Tie the impact statement to the evidence you collected.
A report example without invented test results
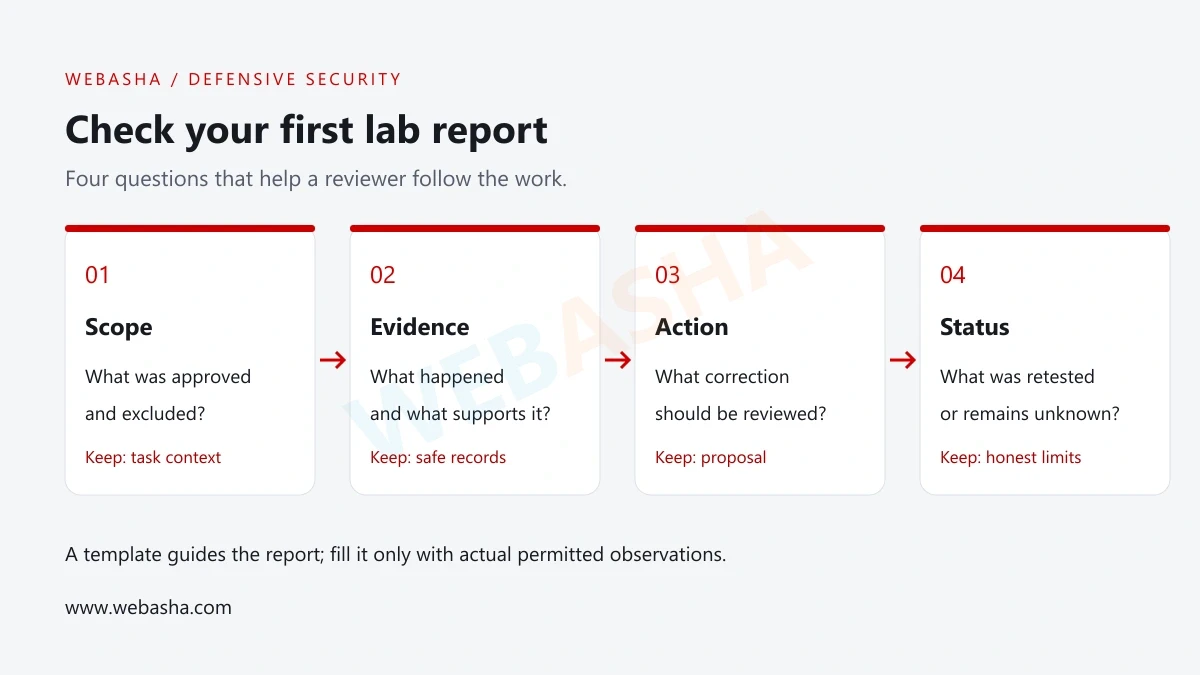
The outline below is a fill-in template, not a record of an assessment performed for this article. Replace each bracketed field with your own permitted observations and keep a section marked “not tested” when that is the actual status.
Title: [specific lab behaviour reviewed]
Scope: [approved environment and identities]
Expected rule: [what should be allowed or denied]
Observed result: [what actually happened]
Evidence: [safe file or note reference]
Lab impact: [consequence supported by the evidence]
Recommendation: [intended correction]
Retest status: [performed / proposed / not tested]
Limitations: [what the work does not establish]
Ask a peer to identify the observation, recommendation and retest status without your explanation. If they cannot, revise the wording. The WebAsha beginner portfolio guide can help you package the permitted work for review.
How to keep progressing when you get stuck
| Obstacle | Next action |
|---|---|
| Tool output is difficult to interpret | Return to a tiny known input and the relevant foundation concept. |
| Lab setup consumes all practice time | Reduce the environment and follow its official setup requirements. |
| A walkthrough works but a variation fails | Identify the assumption that changed and repeat the prerequisite task. |
| The report sounds more certain than the evidence | Separate observation, interpretation and proposed follow-up. |
| The same error keeps recurring | Add the error to a review log with the correction and a retest. |
Keep a short progress record: task, evidence, feedback and next attempt. A calendar can help organise study, but readiness depends on what you can demonstrate. If your interests move toward SOC work, use the SOC analyst skills guide to compare relevant tasks.
Ask WebAsha Technologies about ethical hacking foundation training and supervised lab reporting. Contact WebAsha with your current skills and the checkpoint where you need guidance.
Official references
Frequently Asked Questions
What's Your Reaction?
 Like
0
 Dislike
0
 Love
0
 Funny
0
 Wow
0
 Sad
0
 Angry
0

With a passion for staying on the cutting edge of technology trends, I am dedicated to delivering content that not only informs but also inspires. Whether you need in-depth analysis pieces, informative guides, or thought-provoking opinion pieces, I craft content that resonates with tech enthusiasts and professionals alike.